|
|
Post by fivendime on May 16, 2011 12:38:05 GMT -8
Just a few pictures of what I did after the Moab Trails ;D Had to keep the rust at bay and hide the evidence! 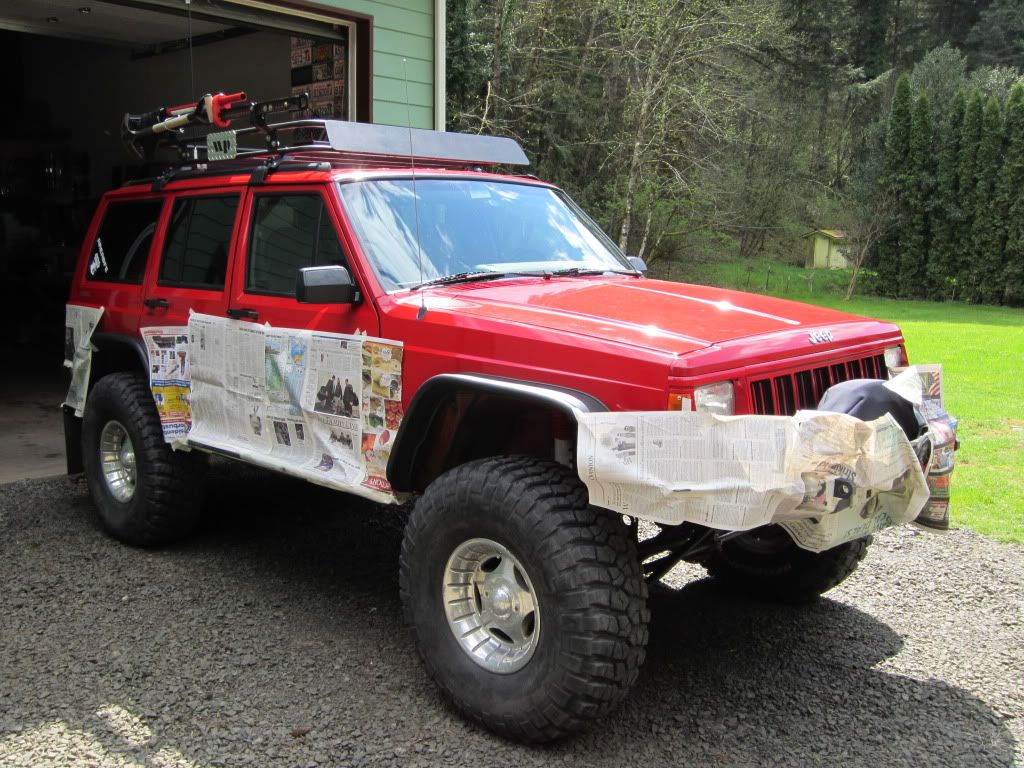 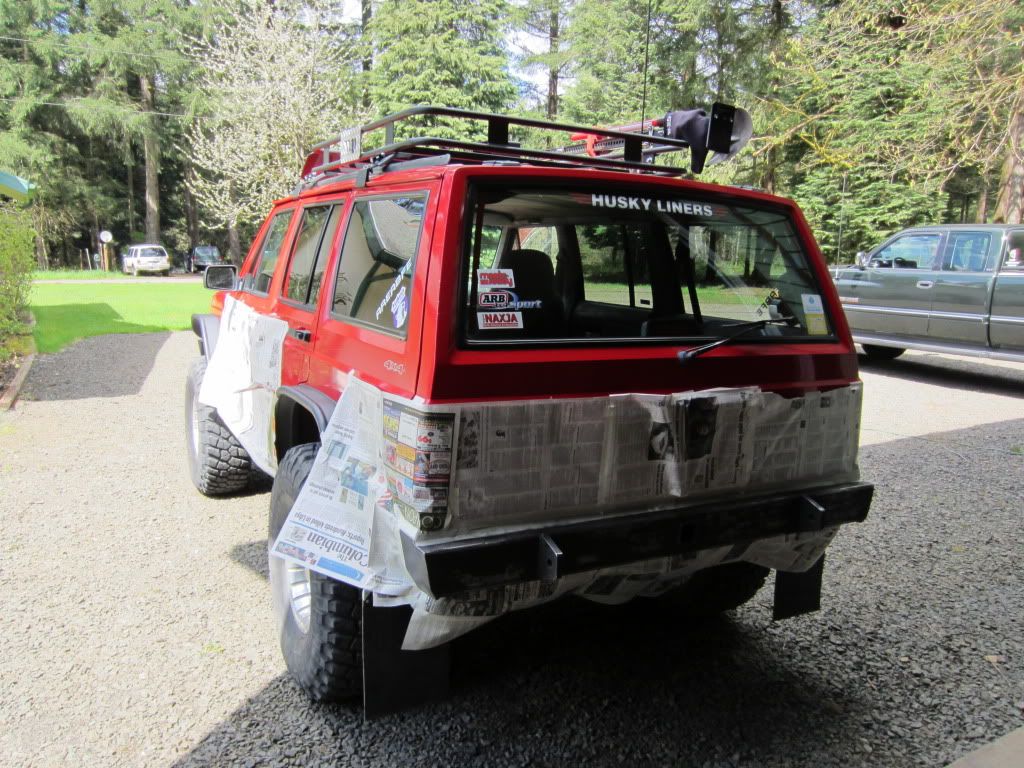 |
|
|
|
Post by fivendime on Aug 24, 2011 16:18:20 GMT -8
A little update of my goings on with the XJ. Ive had this plaguing problem that has cost me 2 leaf springs on the passenger side. a few months before Moab I bent one on Waterfall at Browns Camp and got it replaced just before EJS. I again bent a spring at EJS so I decided to remedy the situation. A little while after I got back I purchased a shackle relocation kit. I had some words with Iron Rock my suspension manufacturer and told them the flaw in there system was this. Funny because about a month later they are now selling them on there site. Here is what it looked like. It helped quite a bit for my shackle angles. It can be tuned to work perfectly, and for the price of only 120 bucks it was completely worth it as a fix and upgrade! Here is the "Bolt On Kit"......Yeah right that's what they all say. 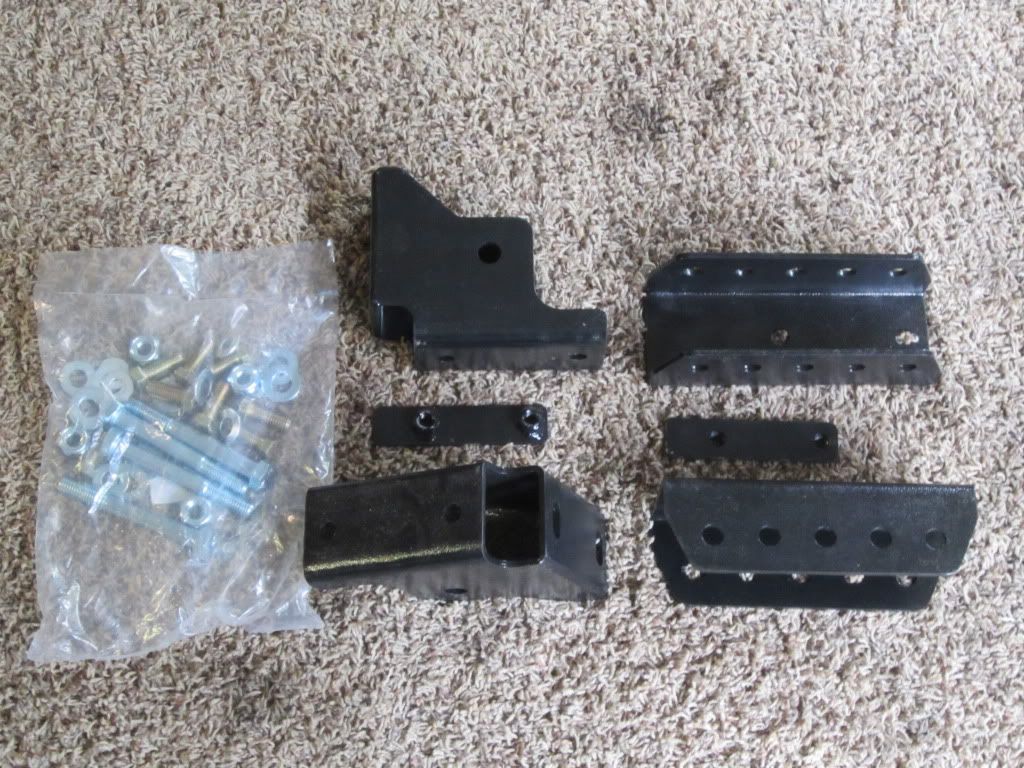 I had to cut off my freshly welded on mud flap brackets cause they were in the way. No biggie but so much for the bolt on part. Cut, Ground, Painted and I was on my way to install. 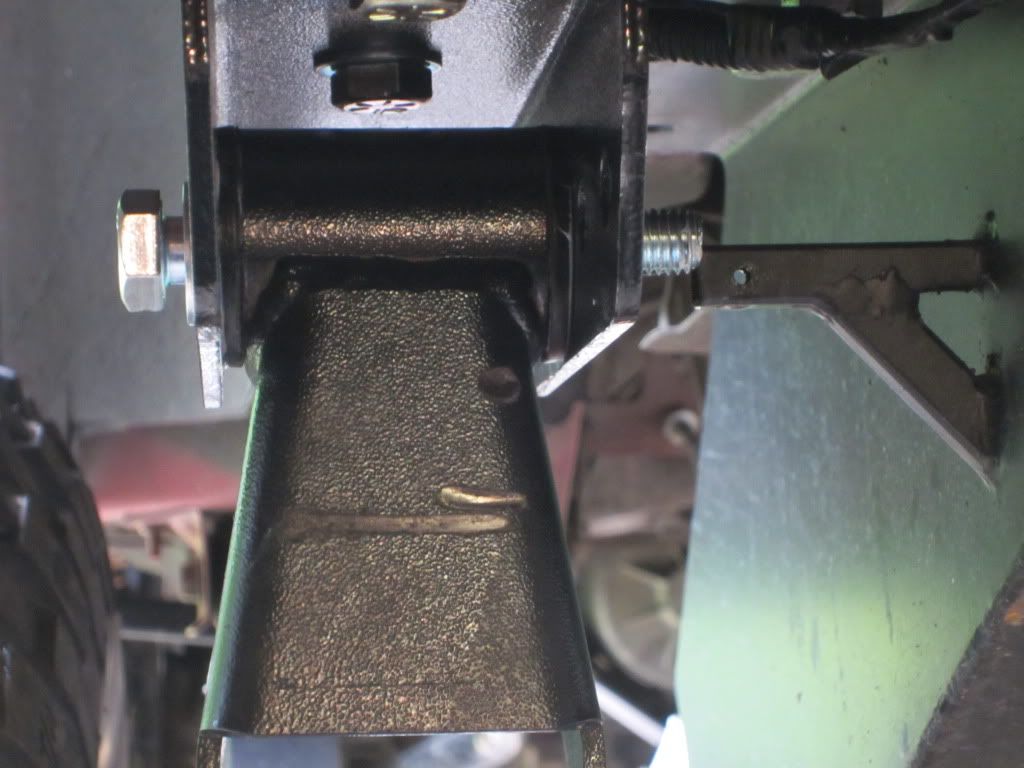 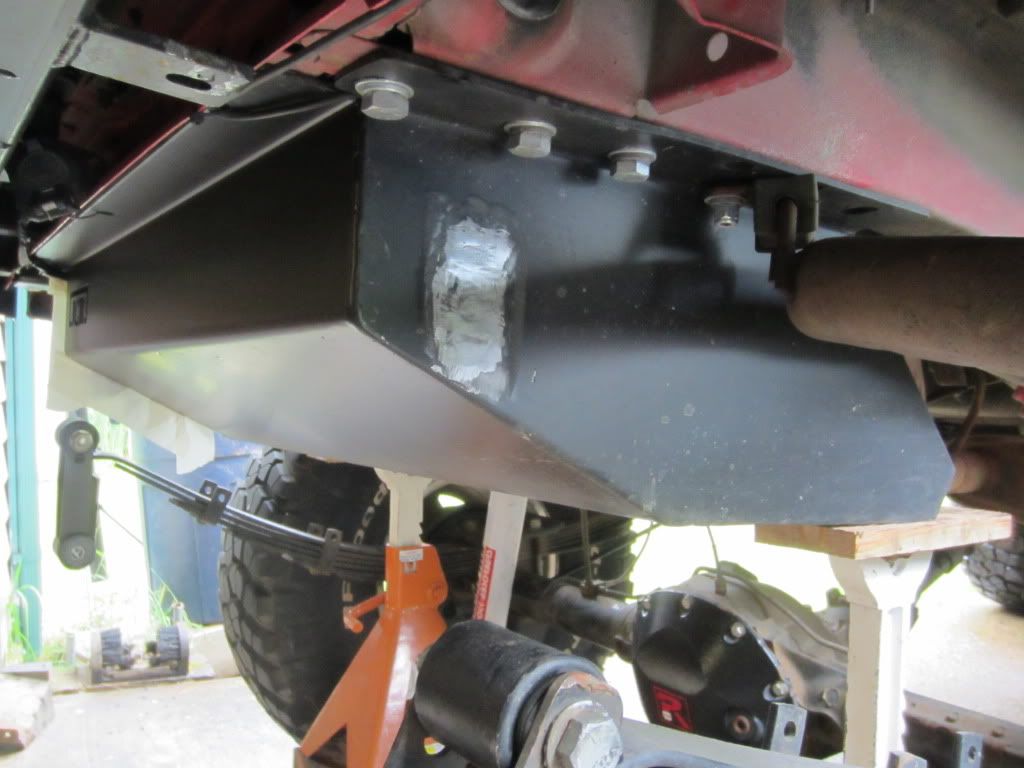 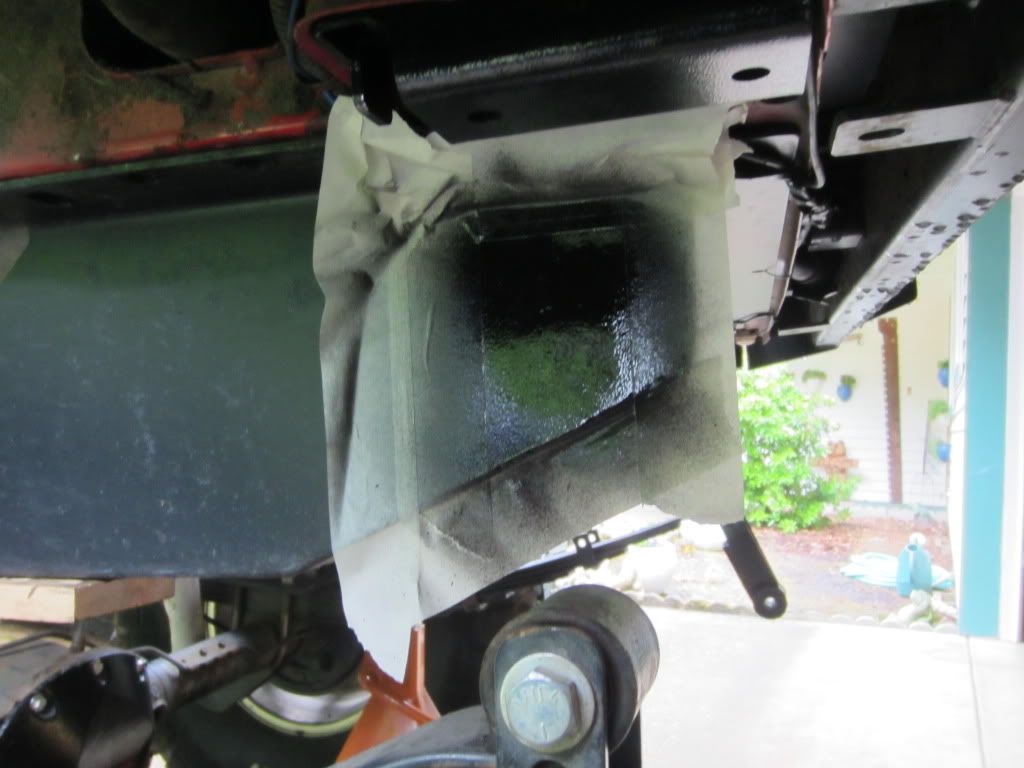 Guessed at the angle. I took it on an RTI ramp and was told it was perfect so I was happy I didn't have to unbolt and change it. You can see the mud flap brackets are welded back on as well. 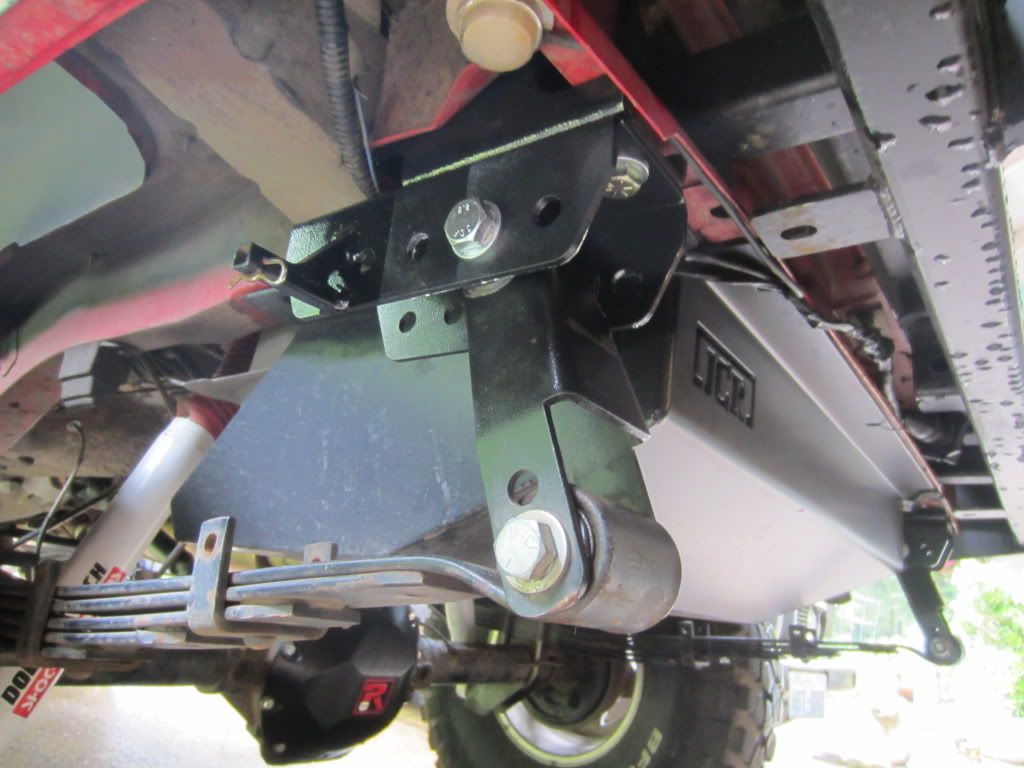 Now I need to take it out and see if I can bend my new spring that should be here this Friday. |
|
|
|
Post by bigstuck on Aug 24, 2011 19:59:34 GMT -8
What was the issue before was there no angle at all to them?
|
|
|
|
Post by fivendime on Aug 25, 2011 21:44:28 GMT -8
What was the issue before was there no angle at all to them? Yeah, you can see the rub marks on the back of the shackles. It was hitting the shackle pocket before. It only had about a 1/4 of an inch before it bottomed out so that's what I believe was killing my springs due to overarching. |
|
|
|
Post by fivendime on Dec 20, 2011 19:46:12 GMT -8
Figured I would do a quick update on just a couple things I did to the Cherokee today. I got the spare header out and welded up the cracks that typically form in these stock 4.0L headers. I then wrapped it with Titanium DEI exhaust wrap and painted on some silicone black paint. My goal here is to see if I can cool down the under hood temperature a little bit. After that I took the existing intake and header off the Cherokee and swapped the headers out. I then put it all back together. I had a Airaid throttle body spacer to then go on next. That was the easy part to swap on lol. After that I then changed the oil and filter to top the fun off. Its now ready to go to the exhaust shop where it will then get a new high flow cat and a new muffler! Starting early preparations again for Moab like last year ;D Here is a pic of the header wrapped up and ready to install. 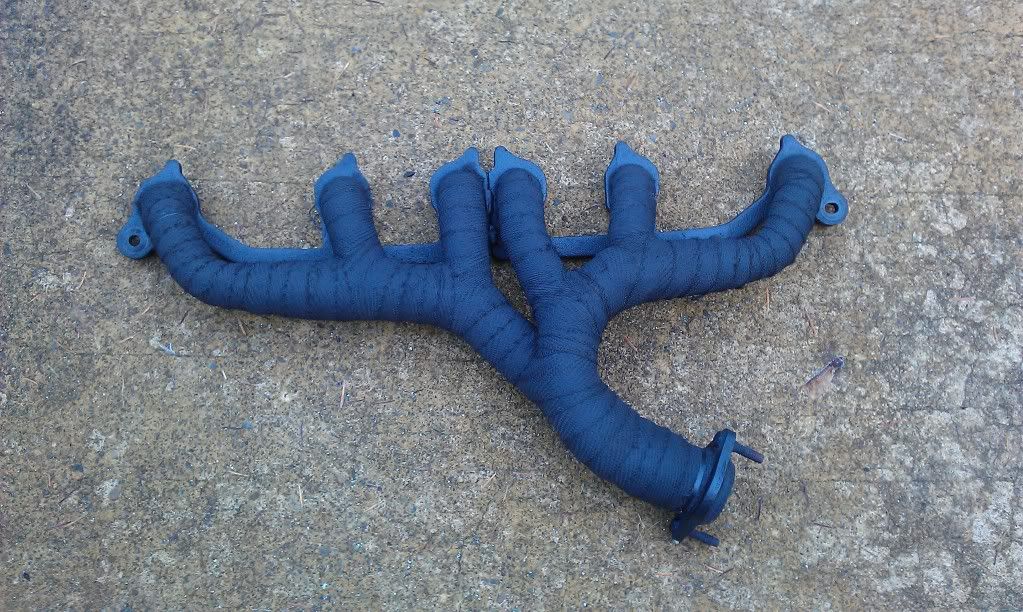 |
|
|
|
Post by bigstuck on Dec 20, 2011 20:37:25 GMT -8
Looks good Joey but I think that wrapping exhaust on a daily driver/wheeler is a bad idea. Once you get that wrap wet it will accelerate the rusting rotting process. Unless its made from stainless. All header company's automatically decline warrantys once a header had been wrapped for this very issue.
But also knowing you you'll keep an eye on it so I'm sure you'll catch issues early on if it happens. But I like the look of it very much you did a good job wrapping that. I don't have that kind of patience.
|
|
|
|
Post by fivendime on Dec 21, 2011 9:18:14 GMT -8
Looks good Joey but I think that wrapping exhaust on a daily driver/wheeler is a bad idea. Once you get that wrap wet it will accelerate the rusting rotting process. The rust issues only happen because people let them sit wet. If you allow it to dry off, like letting your rig sit a bit it will be fine. I did a fair amount of research and people that allow them to dry off completely have had theres on without issue. On the other hand people with Stainless headers such as ones on motorcycles have even had them rust out. This whole thing is basically a test. I have a spare header in the shop just in case this doesn't work out. Its basically a band aid till I can build a nice heat shield between the header and intake. I am hoping it does the job for now. A big thanks to the crap design from Jeep, I never understood why they put the hottest part of the motor right under the part that needs to stay the coolest LOL. |
|
|
|
Post by fivendime on Mar 1, 2012 22:13:14 GMT -8
I will explain later.....cause right now Im too tired from the long day up on the mountain. Front inner shaft pic 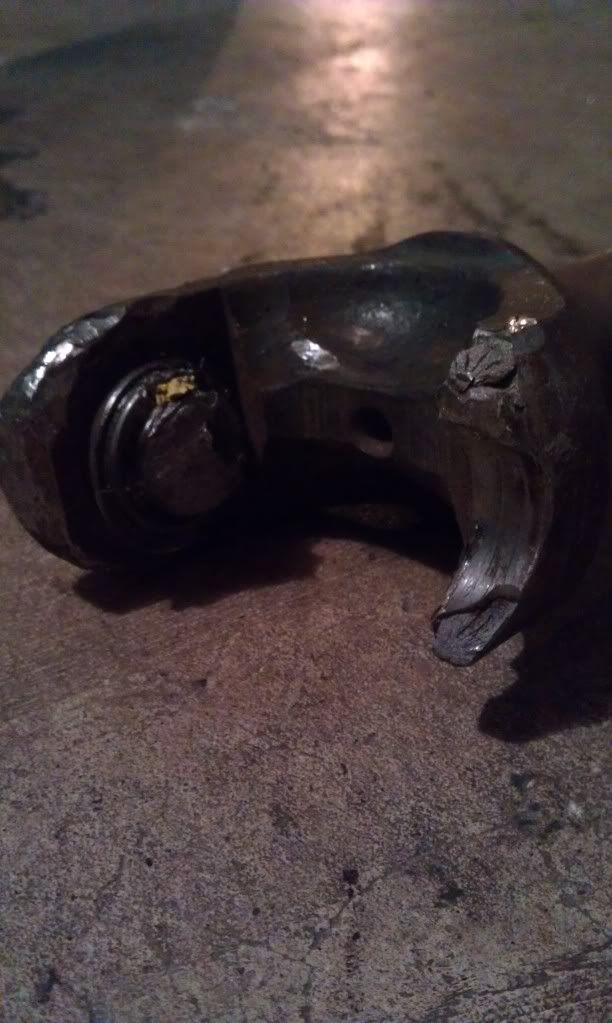 A shot of what it looked like. A mess. It didnt even catch what the ball joints looked like. I will post those up tomorrow. 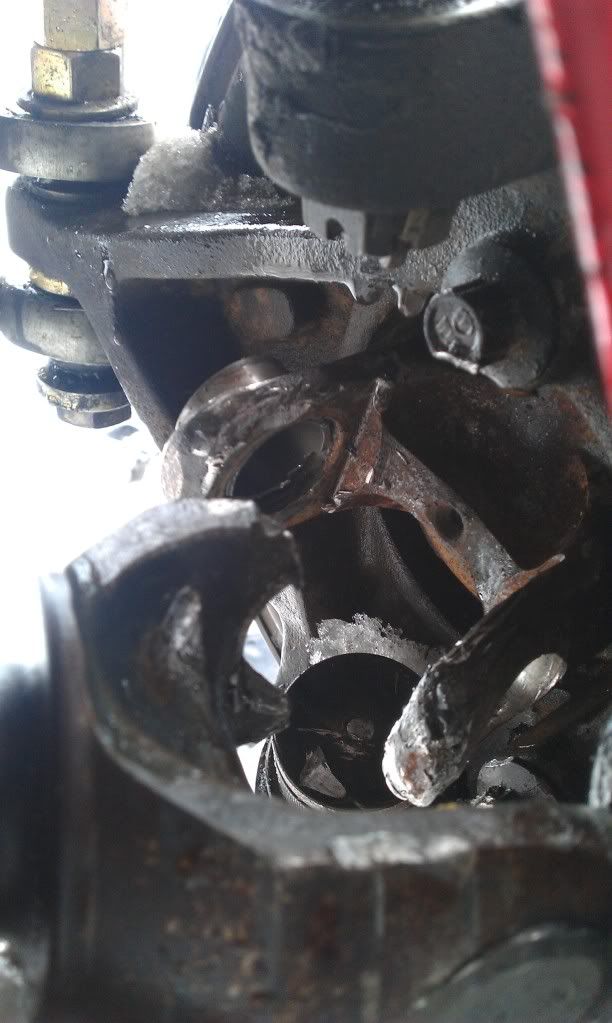 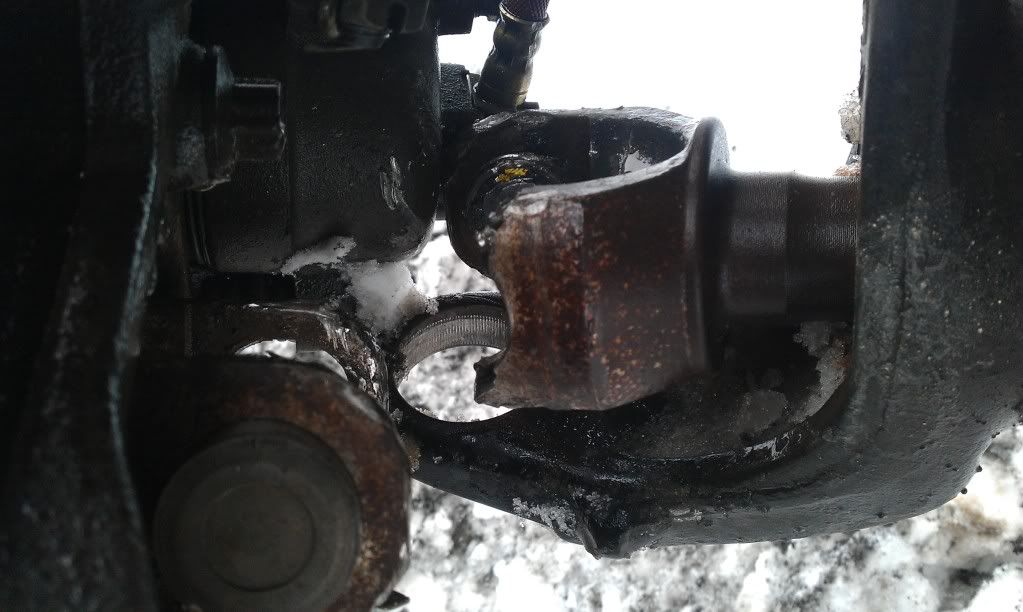 |
|
|
|
Post by iceman on Mar 2, 2012 6:16:30 GMT -8
Yes what a night. I will let you talk about it later.
|
|
thekid
Ok to Drive
 i hate the sand
Posts: 156
|
Post by thekid on Mar 2, 2012 8:47:02 GMT -8
wow it seams like ive seen that before
|
|
|
|
Post by fivendime on Mar 4, 2012 19:06:03 GMT -8
Well, Spent all day yesterday and some of today messing around with getting my XJ back on the road from last Friday's events. I will explain the story at the meeting if you have not read Isaacs detailed story. I started off with swinging by Woodys 4x4 for some new Spicer ball joints to swap in. I started late Saturday morning by tearing things apart. I removed all the old broke parts and cleaned things up with some brake cleaner to inspect the knuckle and all surrounding parts just in case they had damage I overlooked. Spent some time flat filing the parts the got rash from the broken axle flopping around. I ended up pulling all the parts off the opposite side as well to inspect that axle, unit bearing, knuckle, brakes, and ball joints to see if they were ok even though nothing broke on that side. Everything was spot on except for the torque setting on the ball joints, they were about 10lbs loose so I snugged them up and put some new cotter pins in. While I had the parts off I decided to stick some new brake pads in since my old ones were in need of replacement anyway. I then decided to pull my tie rod and drag link off and clean the heim joints up really good and re-lube them with Chain Wax. I lubed up the bolts and put some new locktite on and bolted the steering up. Put the wheels back on and torqued down the Axle nuts to 175 ft. lbs. and did the final inspection. My diff fluid was a tiny bit low, about 1/4" down from the hole so I opted to wait on the change of fluid till I get time to pull the cover and inspect said parts. Hopefully next weekend I can pull both front and rear diff covers off for inspection before Moab. Here are some pics of my fun. Side by side of the upper ball joints. 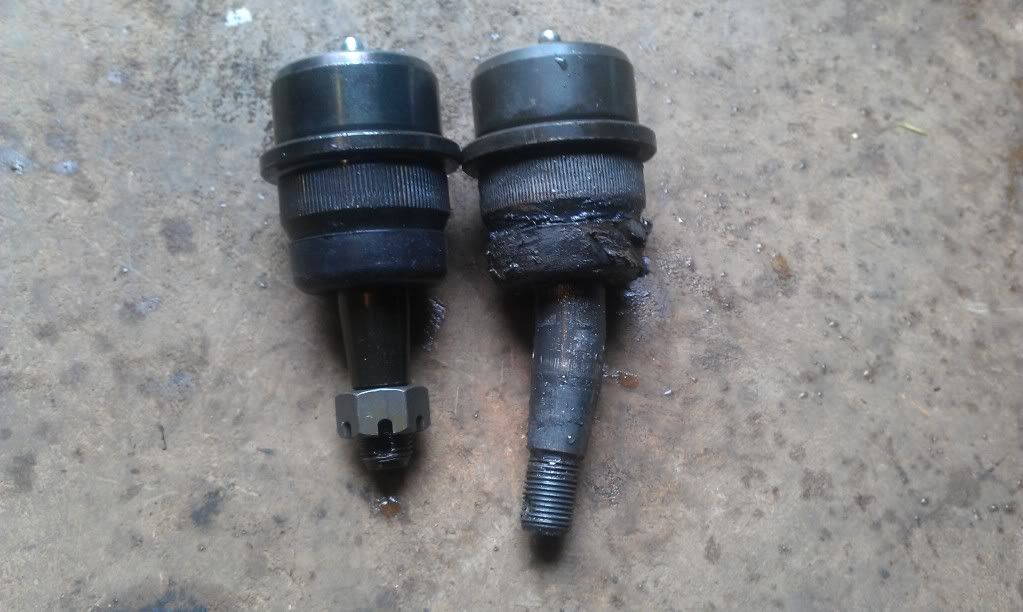 Side by side of the lower joint 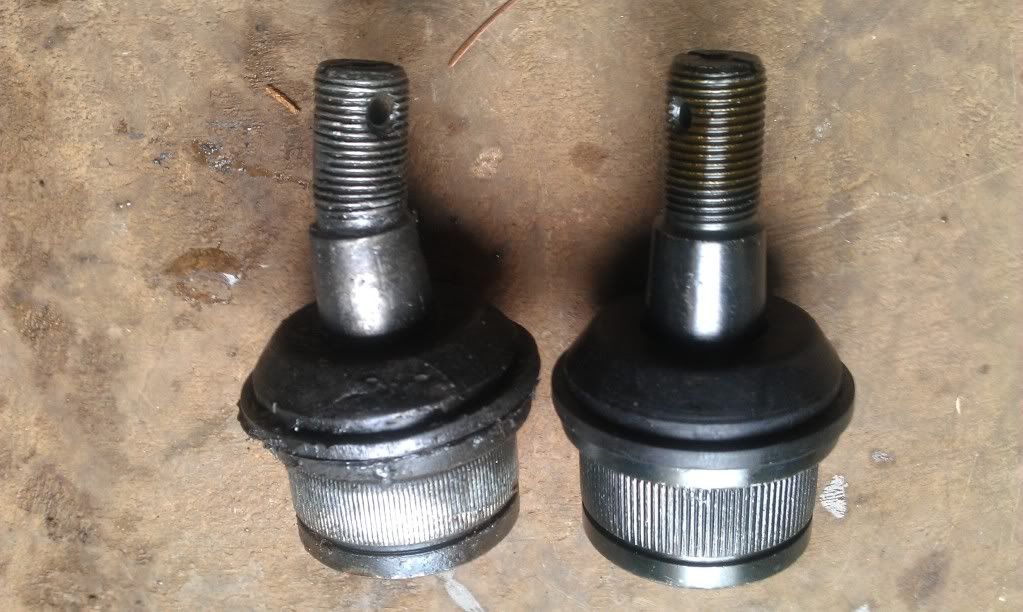 A little flat filing 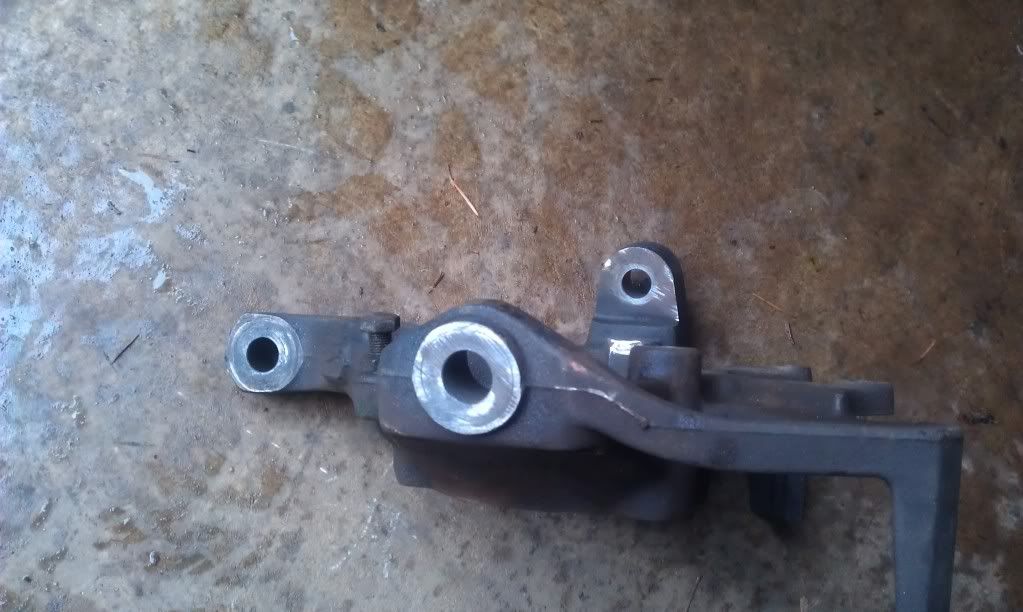 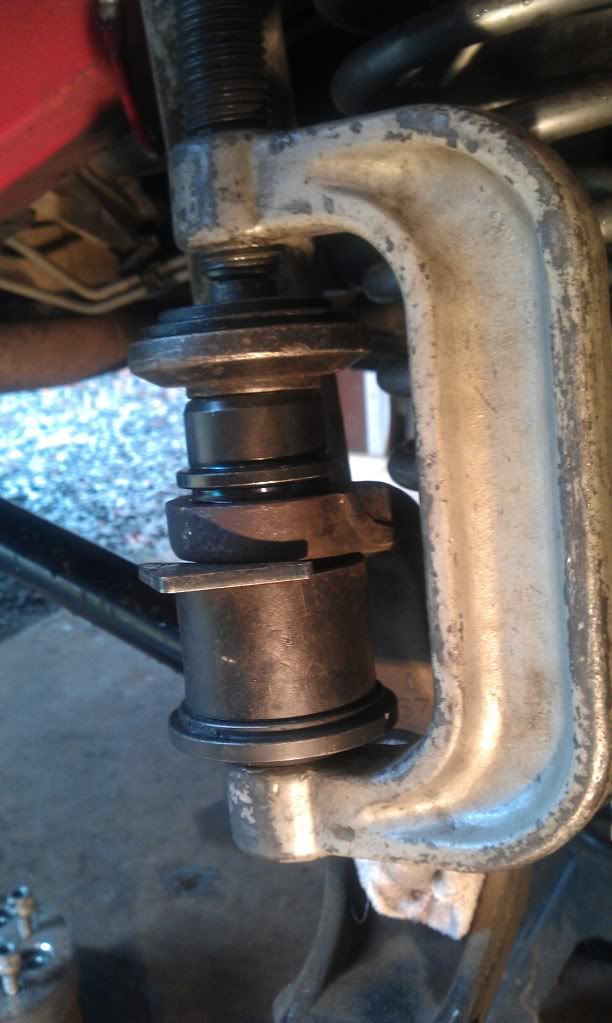 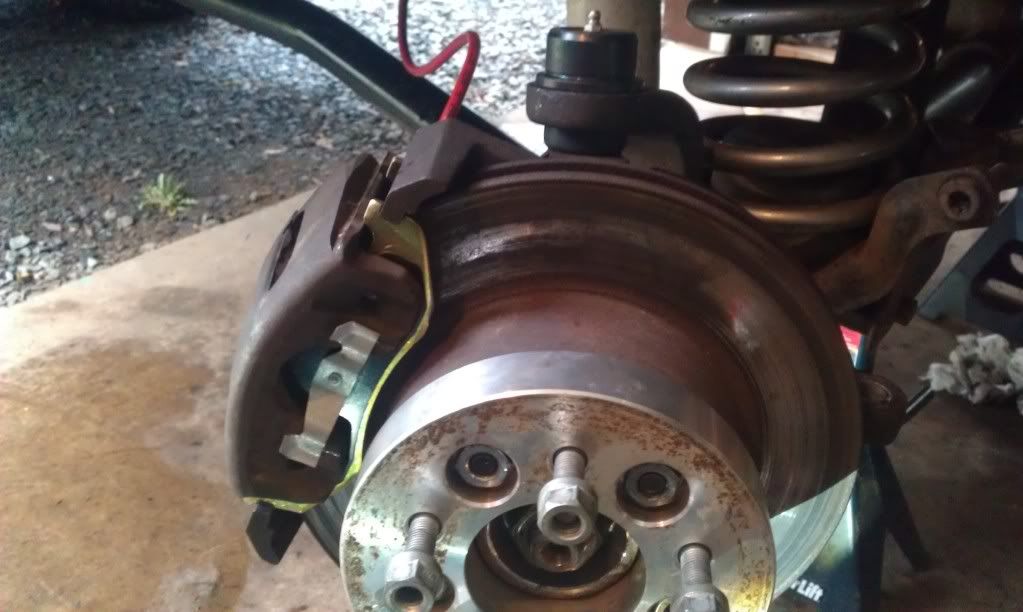 Its all back together now. I spent a fair amount of time today also soldering up my door wires that good old Warrior Products cut like a bunch of idiots. Now my doors all have working windows, locks and speakers...huh, imagine that. |
|
|
|
Post by fivendime on Mar 14, 2012 21:26:16 GMT -8
Wow, what a busy day working on the XJ in prep for Moab. Here is the list of all the stuff I did.
Back:
1. Pulled the rear diff cover off, cleaned and inspected the ARB and gears.
2. Pulled the wheel spacers off and wire brushed them and the mating surface and re-torqued them with some fresh thread locker.
3. Pulled drums, inspected and them adjusted the brakes.
4. Re-torqued the U-Bolts.
5. Greased the zerks on the rear driveline.
6. Buttoned it all back up and put new Royal Purple lube back in!
Front:
1. Pulled diff cover off cleaned and inspected the ARB and gears. (noticed a nasty problem)
2. Pulled the wheels and unit bearings out.
3. Pulled both axles out.
4. Pulled out the ARB and proceeded to fix the Nasty Problem! (mentioned below)
5. Pulled the ARB apart and did a good cleaning and inspection. The problem I had with it is 1 of the 6 bolts holding the ARB housing together.
6. Repaired ARB with new bolts and lock tabs.
7. Pressed old U-joint out of the drivers side Yukon shaft and then pressed a new 760x U-joint in. cleaned up the old U-joint since it was good and put it in the jeep for a spare.
8. My new Yukon shaft came for the passenger side so I pressed in a fresh 760x U-joint.
9. Did some grinding and filing of random parts.
10. Put the cover back on the diff, put the axles in and unit bearings on.
11. Put the wheels/tires back on and filled the front diff with new Royal purple fluid!
12. Re-organized my tool box and put the old stock axle back in its rightful place.
All Done ;D
|
|
|
|
Post by fivendime on Mar 27, 2012 20:24:19 GMT -8
In my never ending quest to keep my Jeep cool on the trail I decided to make a drastic change in my cooling system as a last ditch effort to keep it on the low temps. I ordered up a Dirtbound Offroad tripple fan kit. I installed it, all the while saying a prayer that it would work. When I got it done I took it to town for a drive and was immediately angry at the fact that it was running hotter then it had before  So I decided to do a couple other fixes that I hadnt done. I had wired up one fan to the original e-fan plug and the other 2 on a switch for the time being. I opted to wire all three in series to turn on at once to pull as much air as possible. I also did some research on thermostats and found that putting a Balanced thermostat in would be my best bet. Normally thermostats are about 5 to 10 bucks but this one was almost 40 bucks. WOW was it worth it. Its range of efficiency is no less then 2* for open and close, and a test confirmed that it worked as it should and the typical T-stat was a failure at almost 20* variance. I tossed it in and took it for a drive. Now its almost running too cool, around town. I have yet to test it out but it stays well below what it used to. The real test will be Moab.  Kit comes with a shroud with individual center dividers to keep the fans from fighting each other or washing the air. Looks good to boot! 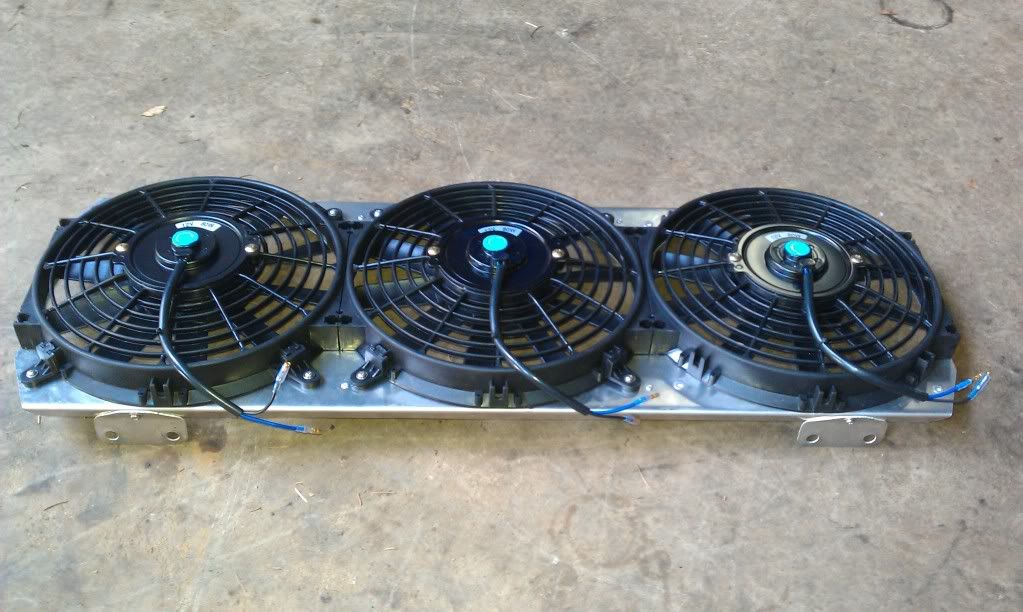 Had to relieve the core support to fit the fans. I also had to die grind 2 holes. The kit came with no instructions so I went to town doing my own custom work to make it what I wanted including the wiring and relays. 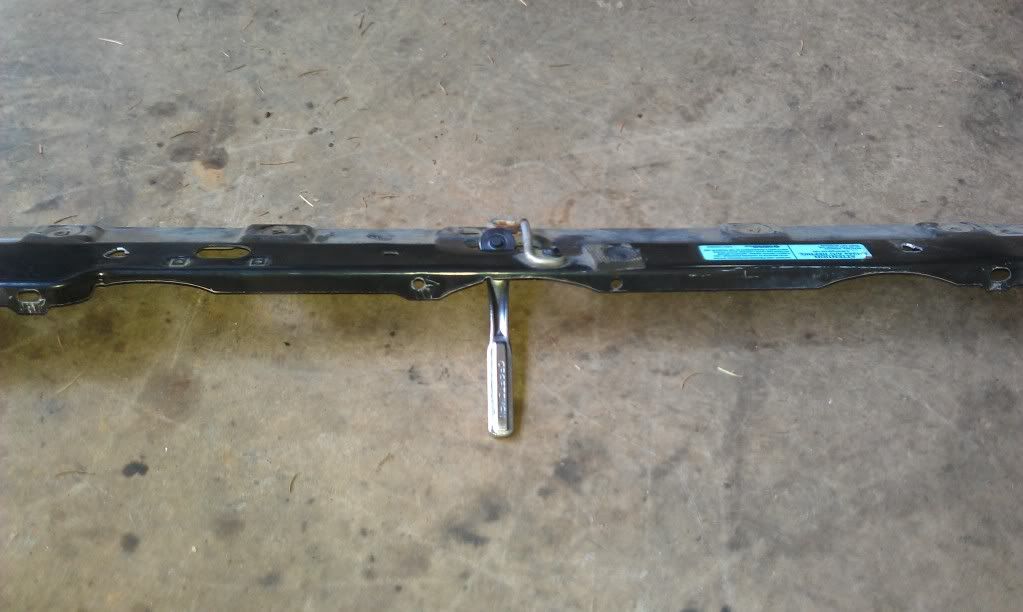 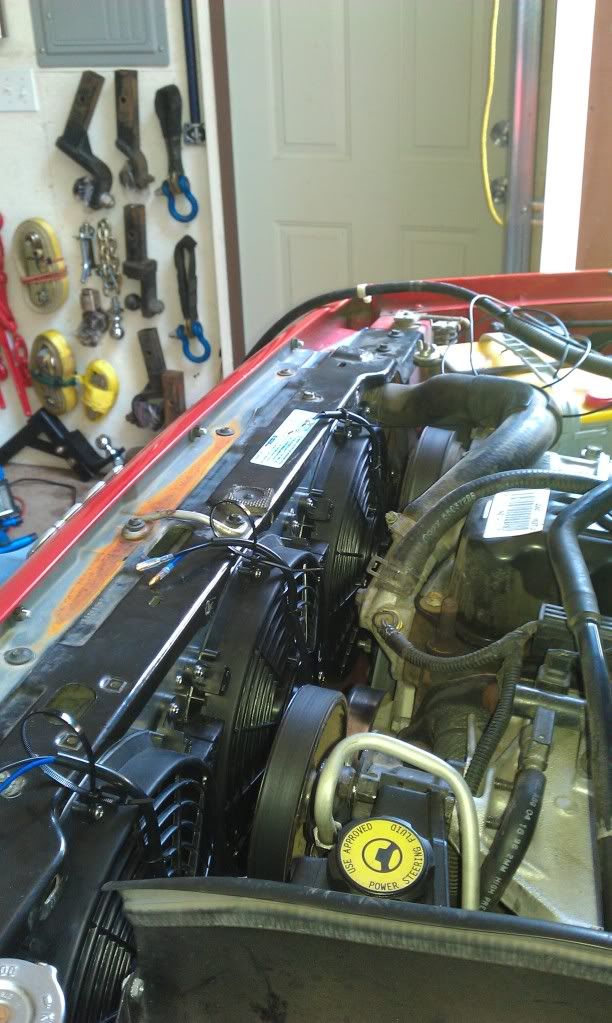 Fits in snug, Very snug to say the least but its in and working great! 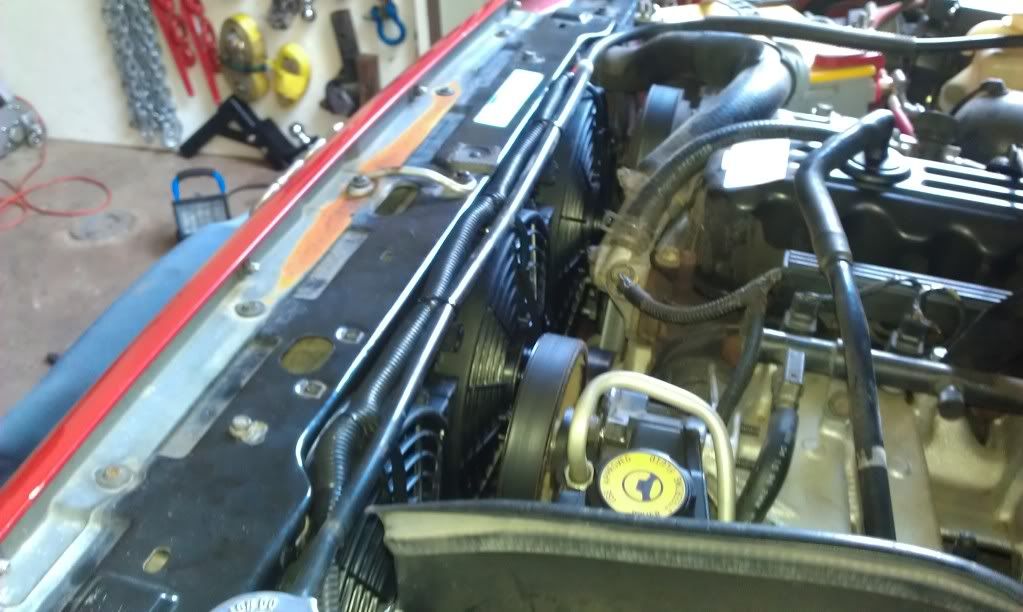 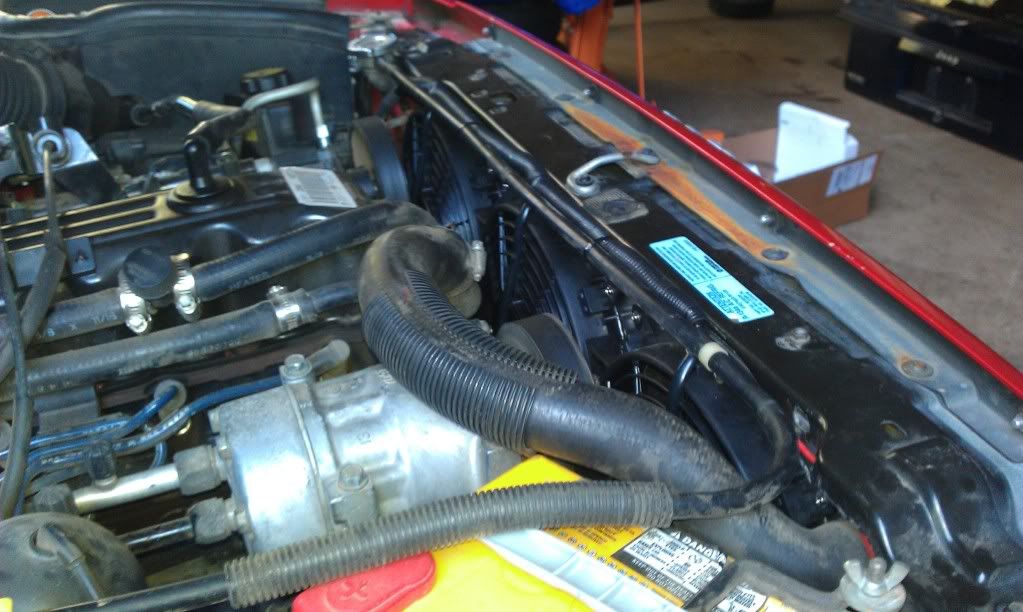 OH! Almost forgot to post up my other mod on the Water Neck for the 4.0L. I was inspecting the neck of it and noticed how choked down the water flow is. So I decided to spend some time carefully die grinding away at free material. It turned out much better for flow! Bummer I didn't get a before shot. 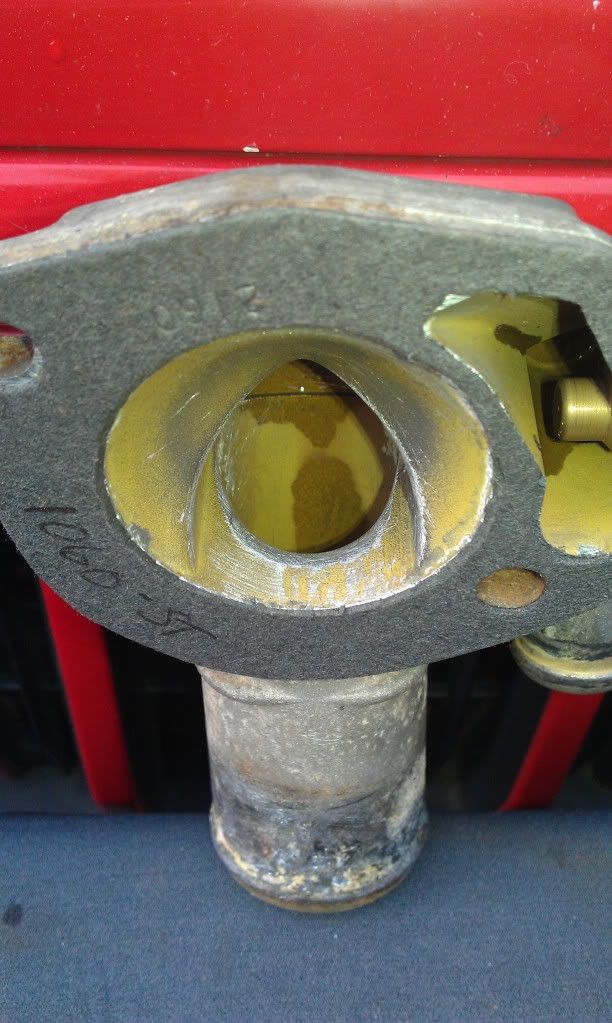 |
|


 So I decided to do a couple other fixes that I hadnt done. I had wired up one fan to the original e-fan plug and the other 2 on a switch for the time being. I opted to wire all three in series to turn on at once to pull as much air as possible. I also did some research on thermostats and found that putting a Balanced thermostat in would be my best bet. Normally thermostats are about 5 to 10 bucks but this one was almost 40 bucks. WOW was it worth it. Its range of efficiency is no less then 2* for open and close, and a test confirmed that it worked as it should and the typical T-stat was a failure at almost 20* variance. I tossed it in and took it for a drive. Now its almost running too cool, around town. I have yet to test it out but it stays well below what it used to. The real test will be Moab.
