|
|
Post by fivendime on Jul 11, 2010 14:48:39 GMT -8
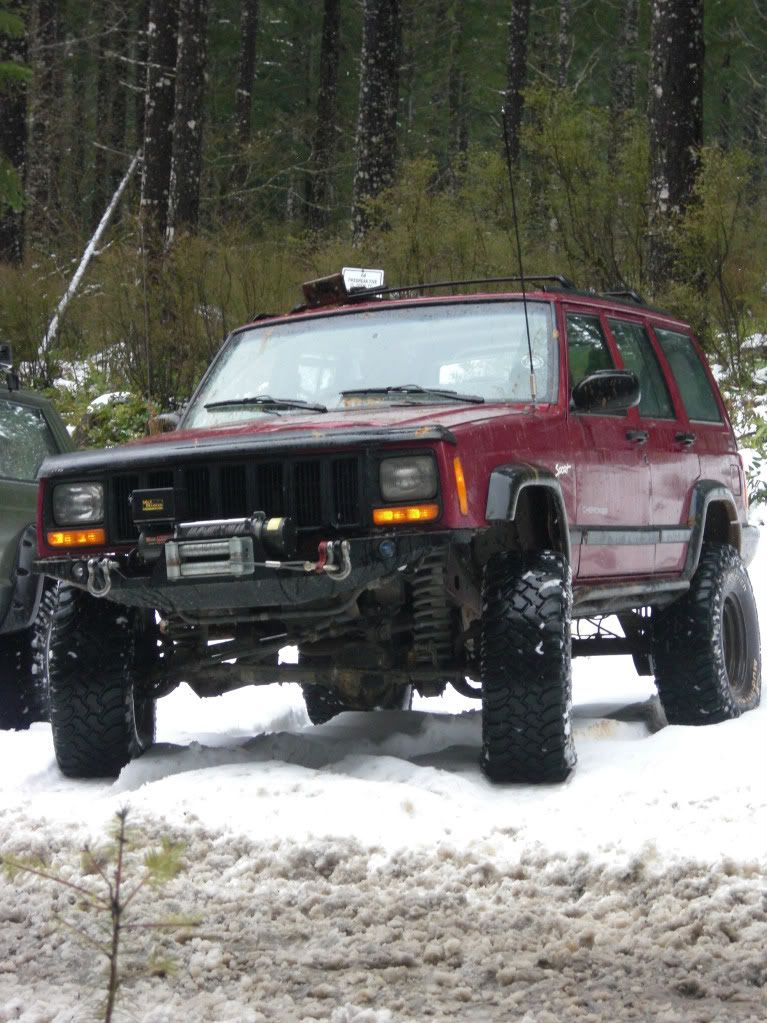
Today was a lesson in understanding gearing a rear end and front end. I decided not to tackle it but to read up and give Tonka (Pat) a call for some help in understanding this whole thing. He reassured me that I could do it, so now that I have check out the Yukon Gears website and read there stuff I am good to go. I have finally grasped all the things like backlash, shimming, crush sleeve, pre-load, gear pattern, face, flank, drive, coast, heel, toe.......My goodness sounds like a dance lesson. I also snapped a shot of my current endeavor with my Project XJ Uni-body Stiffeners from Ruffstuffspecialties. This should help with any uni-body weakness for now. Still have to burn them in completely. 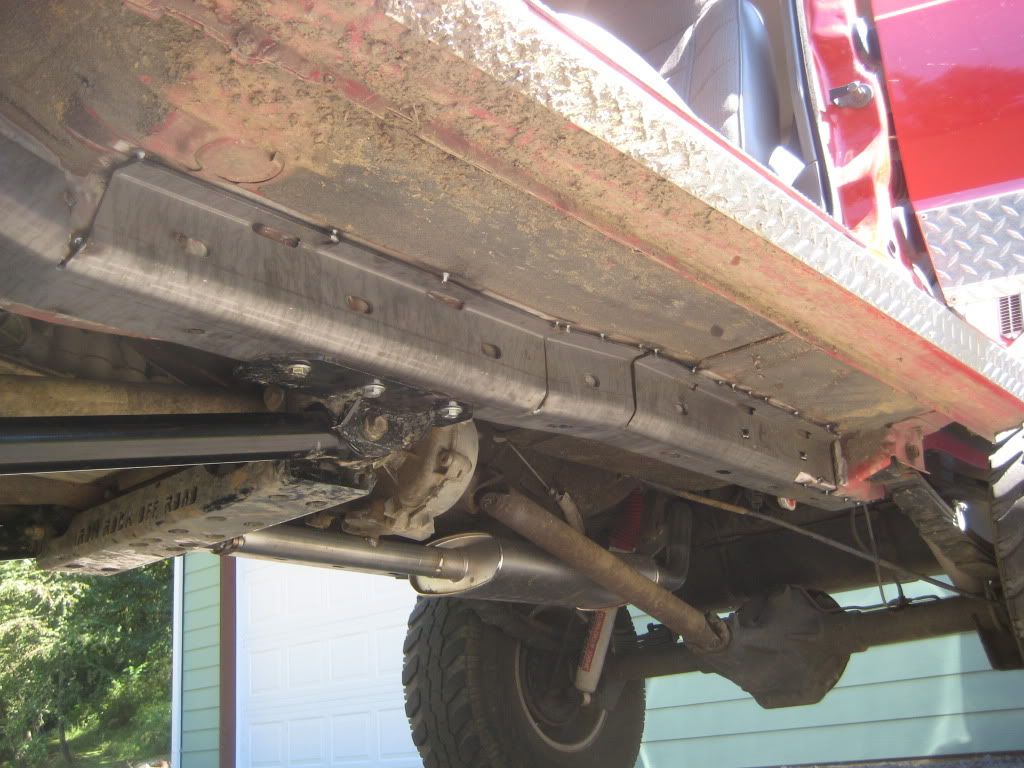 |
|
shortbus
Charter Member  Every great day ends in POO!
Posts: 254
|
Post by shortbus on Jul 11, 2010 17:54:26 GMT -8
its starting to look like an armored car lol
|
|
|
|
Post by xjramrod on Jul 11, 2010 18:33:23 GMT -8
i dig it i would really like to do that someday
|
|
|
|
Post by fivendime on Jul 12, 2010 19:46:22 GMT -8
Its going to be heavy enough haha, now I can integrate my sliders into it making it much more rigid. Here is the progress so far with the gears. Napa failed to give me the correct small pinion bearing and race so now I have to wait. I did get it all pulled apart and cleaned up. The ring gear is now bolted to the locker, and now I have to grind the ring gear for the cross shaft, which I cringe at the thought. Right now I am kind of in a pickle, Im not sure if I should use my old bearings for setup? If I have to shim the pinion a few times I dont want to have to keep pressing the new bearings on and off. So my thought is to hone out the old ones and use them for setup. Any thoughts? Also where the heck do I drill for my air line for the locker, at the top is my guess? 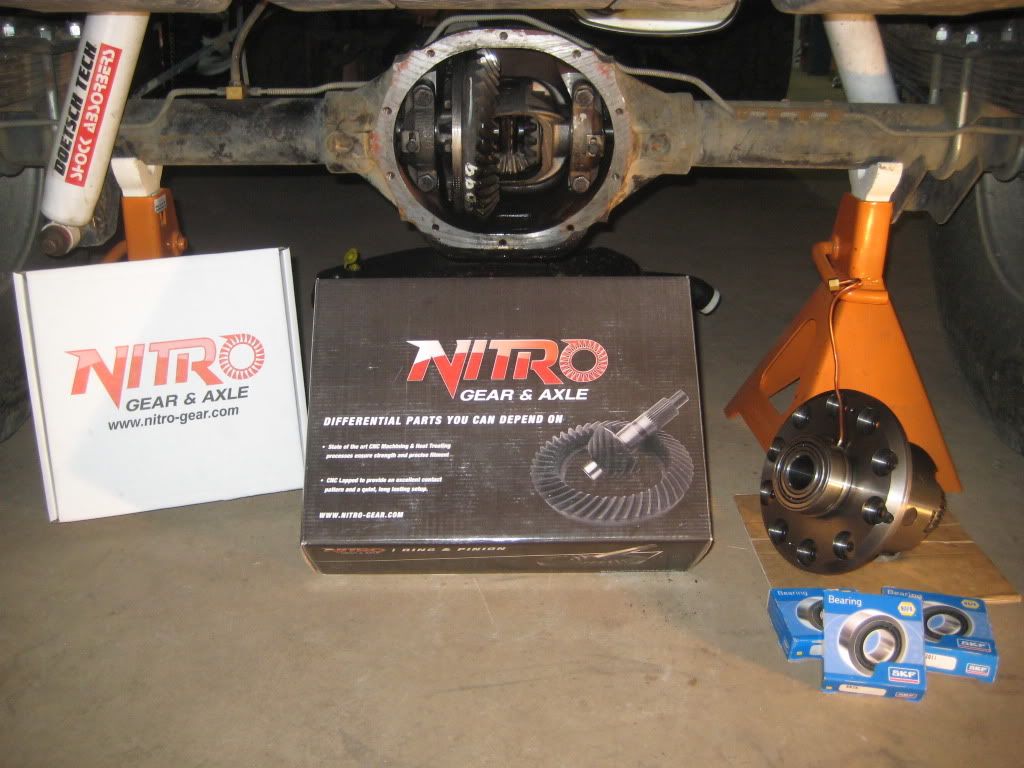 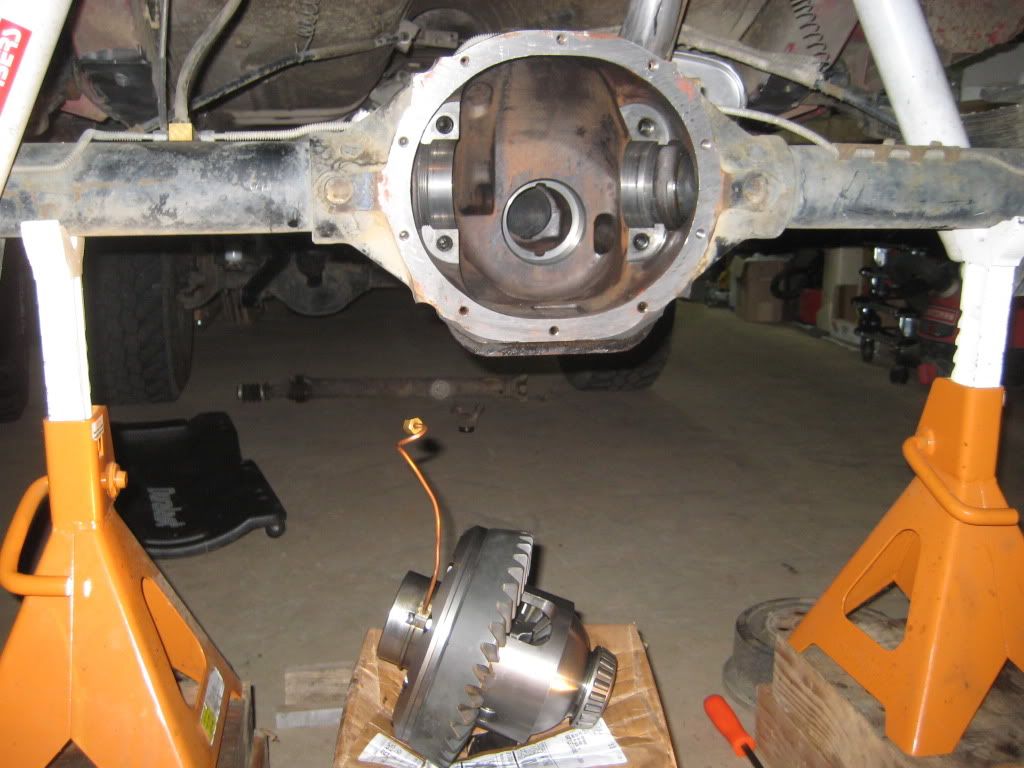 |
|
|
|
Post by fivendime on Jul 13, 2010 14:19:53 GMT -8
UPS just keeps bringing me goodies ;D Riddler Differential Covers, time for paint! 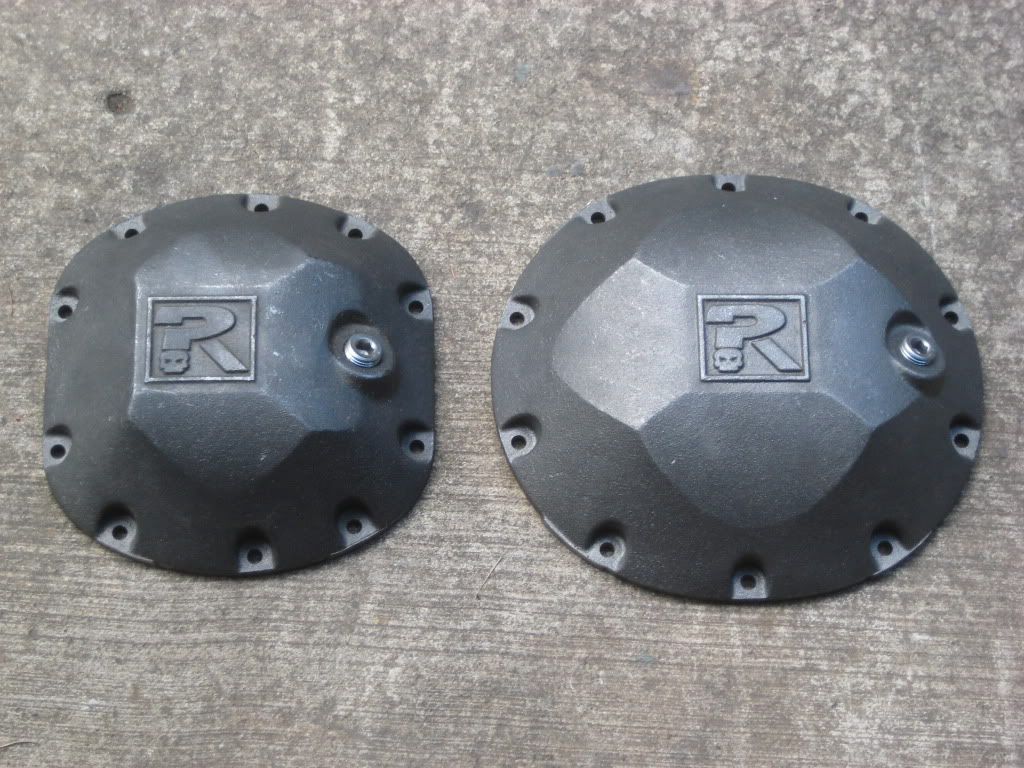 |
|
|
|
Post by fivendime on Jul 15, 2010 20:57:54 GMT -8
Well I think I did it. I think the 4th time was a charm on the gear pattern. If ya know gears let me know what you think about the pattern! First attempt= 30 thousandths stock size shim=pinion to low Second attempt= 40 thousandths worth of shim=pinion to high Third attempt= 33 thousandths worth of shim= pinion to low Fourth attempt= 35 thousandths worth of shim= Spot On! Drive Side of ring gear 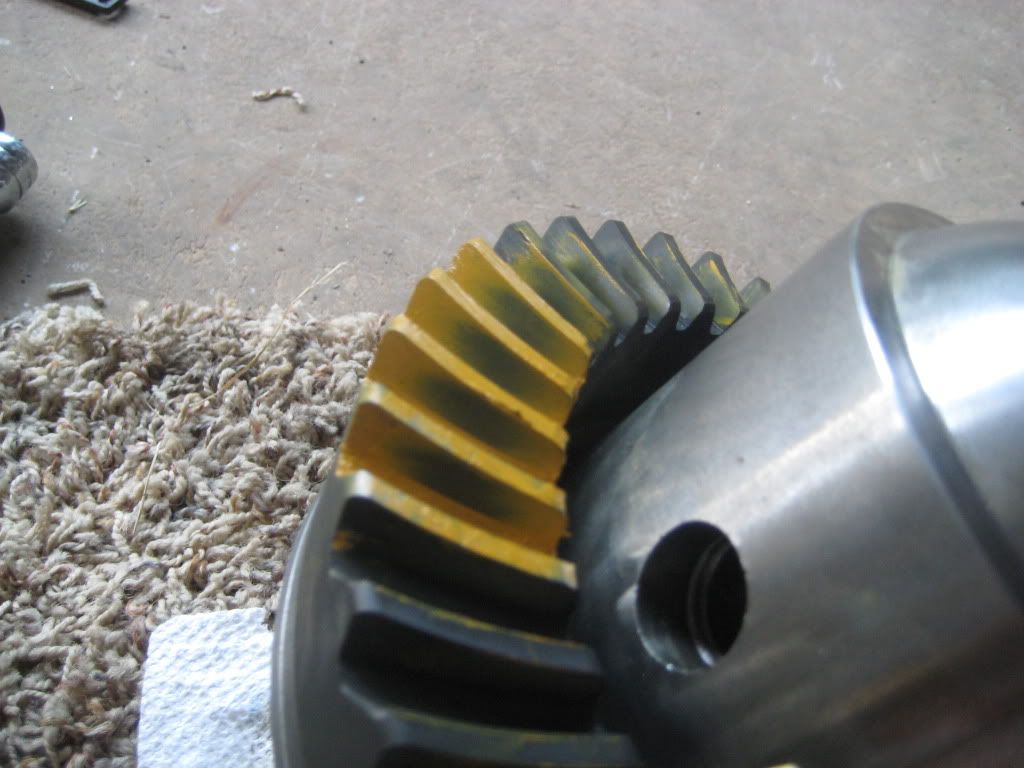 Coast Side of ring gear 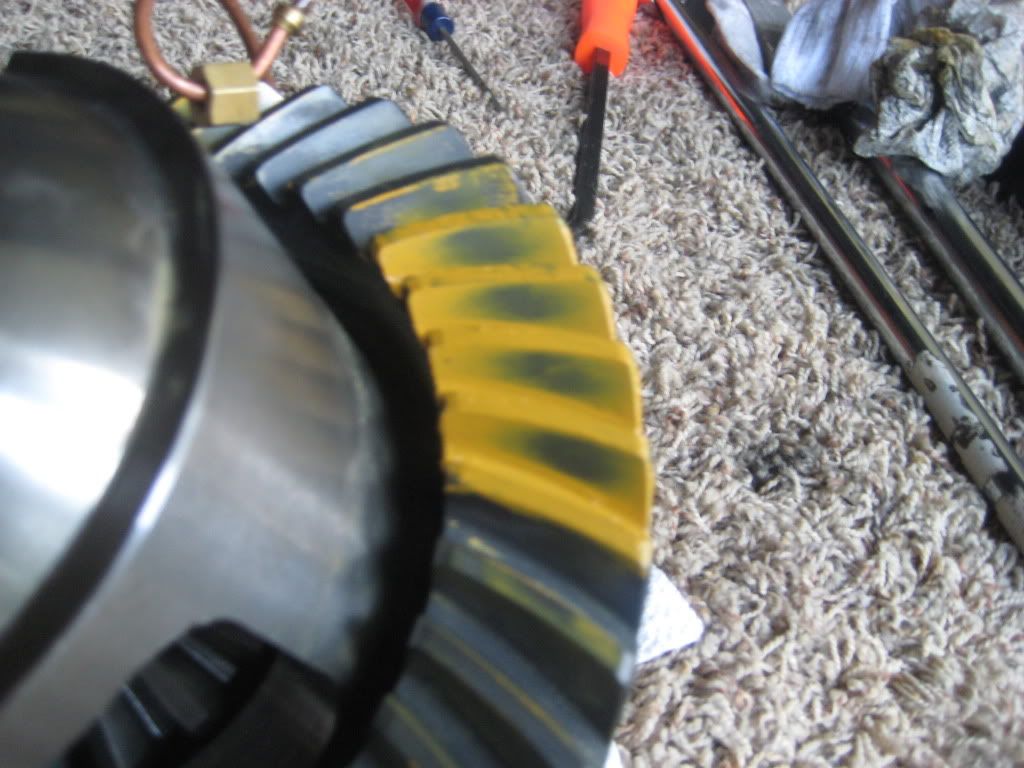 |
|
|
|
Post by fivendime on Jul 18, 2010 8:32:32 GMT -8
Well, I fought putting the pinion in for about 6 hours yesterday. We must have had it on and off 4 times trying to figure out why the crush sleeve wasn't crushing. Me and Ryan tried everything to get it on. To put it short we stopped a 3/4" 500 ft. lb. impact dead in its tracks. We also had a 5' breaker bar with Ryan standing on it and I had a 4' breaker bar that I was pushing on and I was lifting him off the ground till the 1/2" impact socket broke. We then gave up. I called Tonka/Pat for help and said why the heck is this thing not crushing  He told me that sometimes they are faulty and they dont crush. I then mentioned to him about a crush sleeve eliminator kit and he said DO IT, its much better. I figured it was since the guys on other forums like the setup. SO, now I must wait till Monday to get one and hopefully someone close has one so I can continue my forward progress. |
|
|
|
Post by fivendime on Jul 19, 2010 16:52:28 GMT -8
Update, and a sucky one at that.
I set up my locker and gears for what I thought was the final time. Slid the axles in and thought to myself how the heck do I get the C-clips on with this Cross shaft cage thing in the way. I managed to get them in there with a LOT of work. Then when I get the axles in I find that the cross shaft pin will not go in past the housing of the carrier. At this moment I wanted to kill myself, cause this project is really testing my patience. I called ARB and he said must be a burr or something in the way. Nope it just wont go in, and at the same time I noticed that the dang thing is stuck in the LOCKED position. The list of shat thats gone wrong is now miles long. So I called ARB back and said its stuck in the locked position, he told me to try a bunch of stuff to get it unstuck with none of it working on my end. SO I pulled the locker out for the freeken 1001 time and proceeded to take it apart beginning with the ring gear coming off then the 2 housing screws and then completely apart. Then I found out that the new cross shaft pin cage is too big which is keeping the cross shaft pin from going completely through. Fack, why me, so I did some grinding/polishing and bingo it slides in now. OH WAIT....the locker gears are still stuck and not moving....oh joy. I took it apart for the 3rd time and found that there was and what I assume to be 1 extra thrush washer behind the side gear. I took it off and everything works great now. I am beginning to wonder if they even looked at my locker when I sent it too them cause they sent it back all jammed up. I'm very ready to have this thing done and installed. Hopefully my pattern is still good when I put it all back together.
|
|
|
|
Post by iceman on Jul 19, 2010 19:52:23 GMT -8
Oh Man what a project. It will get better for you. I pray it goes back in for the finale time so you can get started on the front. You will be happy with them when you finally get them in. Just keep that in your head as your working on it. keep cool  and happy ;D and you will get through it. |
|
|
|
Post by fivendime on Jul 19, 2010 20:28:01 GMT -8
Thanks for the prayers Ryan, I said allot of them myself. The Test of all time for me working on cars. Today was about the end for me but at last tonight, I finished the back gears and locker. I tested it with some air and it works flawlessly. I also made the executive decision that the locker only has one thrust washer per side gear, and I will obviously check with ARB in the morning to make sure. Worst case I take it out and set it up again and I have it down to a science now. I also had time to finish the fine details on painting my Riddler Differential covers! They look cool Here is a shot of the ARB installed and hopefully for the last time! 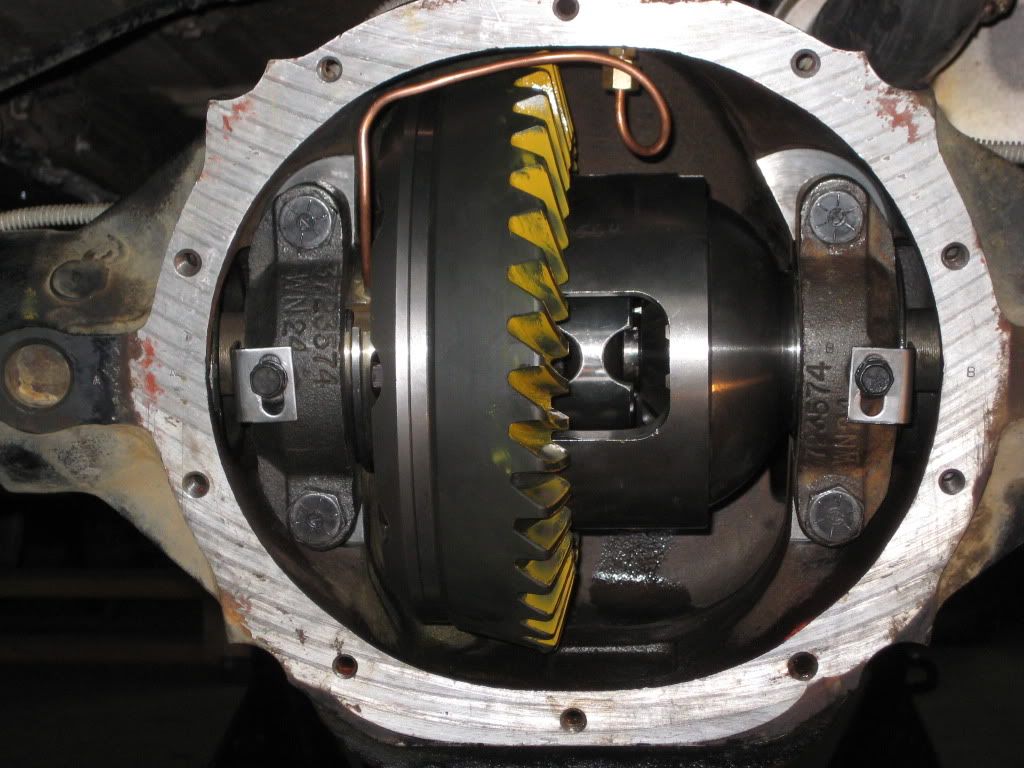 Riddlers hand painted, FTW! 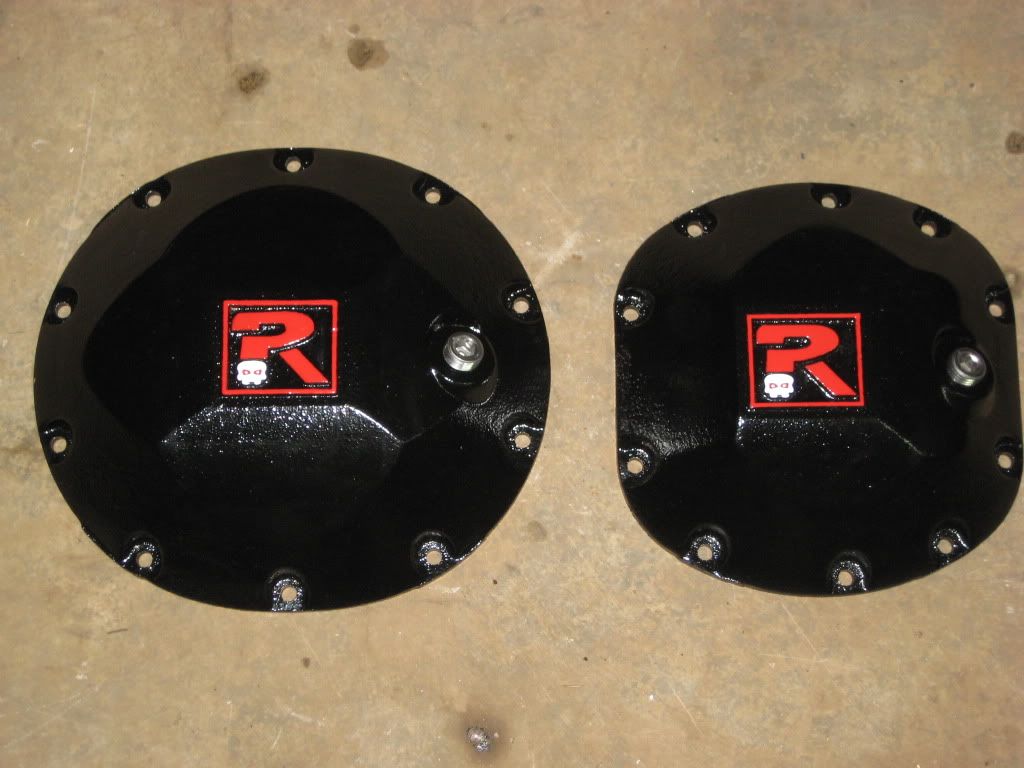  |
|
shortbus
Charter Member
Every great day ends in POO!
Posts: 254
|
Post by shortbus on Jul 20, 2010 7:08:31 GMT -8
looks good. good luck with the front end.
|
|
tonka
Ok to Drive
 My Heep
Posts: 256
|
Post by tonka on Jul 24, 2010 9:50:06 GMT -8
Sweet We have another gear guy now! The front will be simple your an expert now!!
|
|
|
|
Post by m38crawler on Jul 24, 2010 10:48:07 GMT -8
You should of called me! I got a 1100 FT LB 1/2'' drive impact sitting in me tool box yelling at me to be used... ;D
|
|
|
|
Post by fivendime on Jul 24, 2010 22:54:26 GMT -8
I got into town today around 5 after my wonderful wedding anniversary trip and proceeded straight down to the river in front of my house to do a little cooling off and inner tubing! I then decided its time to go back to work on the gearing situation. Well its just that a situation. The front is giving me hell just like the back is. Here is my issue. Housing is empty and clean. I installed the locker about 10 times now....or more cause I have seemed to loose count. I have one problem. When I rotate the ring and pinion in either direction I have a bind...a bad bind...in one spot. The rest of the area it spins freely with no problems. I am using setup bearings in the whole thing. I have the pinion set at the original depth from the factory and the pre-load is shimmed perfect at 10 inch lbs. I have backlash set to 7 thousandths. I just pulled everything off and cleaned it up. then put it back together and its still doing the same thing. Nothing is mixed up since I stamped the caps with A and B, and also marked UP. This is really driving me nuts now. I have taken my dial indicator to just about every surface I can and I really cant find much variance or huge issues. Run-out on the ring gear is between 2 and 3 thousandths which is within factory specs. The body or carrier of the ARB is true as well with only a variance of about 1-2 thousandths. After all said and done I am giving up for tonight. I am going to try and figure something else out. If anyone has an idea of what it could be please let me know!!!! It might be going to Pat's shop and me paying him to do it. My wife isn't very happy with how much time I'm spending on this project and she is hating the Jeep she tells me. So I must get this mess fixed pronto.
|
|
|
|
Post by fivendime on Jul 25, 2010 8:01:17 GMT -8
One thing I did not do is check the mating surface of the ring gear on the ARB before I installed the ring gear. I am going to pull that off and check it again, but before that I am going to mark the spot where it jambs up the pull it out, rotate the bearings, then install it again to see if it jambs up in the same spot. If not then it may and most likely is a bearing. If it does then I will pull the ring gear.
|
|


 and happy ;D and you will get through it.

